If you have already been using a clay mask, then we don’t even need to tell you how amazing this skincare product is. People who are aware of this product must also know the incredible benefits of clay masks. Clay masks’ ability to draw out deep-set impurities and improving the skin complexion are two of the major reasons for the increased popularity of this product in recent times. It is truly a god-sent product, if you haven’t already tried it out, then you need to give it a try ASAP as you are missing out on some really great benefits.
Clay masks can help target different issues, and the best way to target all the issues at the same time is by applying different clay masks on different areas of your face. Yes, you heard that right! You can apply more than one clay mask on your face in order to target different skin concerns. The act of applying more than one clay mask on different areas of your face is called multi-masking. For instance, if you have combination or oily skin, then you can apply a purifying clay mask on oily areas and a hydrating clay mask on dry areas, using just one clay mask for your entire face can worsen things, therefore, multi-tasking is a better thing to do. We have created a simple and easy guide for you on how to multi-task for oily skin.
Step 1- Cleanse
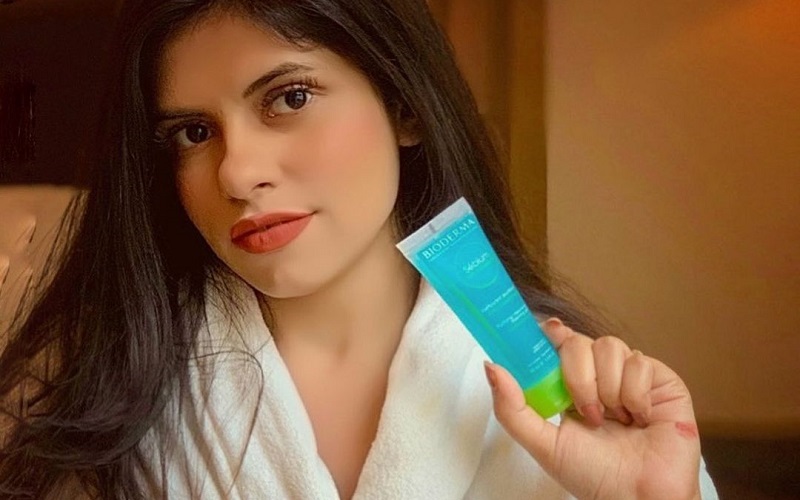
The most important thing to do before putting on a clay mask is to ensure that your face is all clean. You should cleanse your face using a gentle face wash in order to remove dirt and other impurities from the surface of your skin. Applying a clay mask on dirty skin won’t deliver any benefits to it, therefore, you should always make sure to clean your face first before using a clay mask.
Step 2- Exfoliate your skin

After cleansing your face, you should start exfoliating it using a mild and gentle face scrub. Exfoliation is an essential step in this process, it helps eliminate dead and dry skin from the surface, thereby allowing better penetration of clay masks and ensuring better results. Dead and dry skin can block the skincare products from penetrating your skin, hence the minimal to zero difference. You can use any face scrub of your choice to exfoliate your skin, just make sure it is mild and gentle and doesn’t contain any ingredient that will harm your skin.
Step 3- Apply a detoxifying clay mask on oily areas
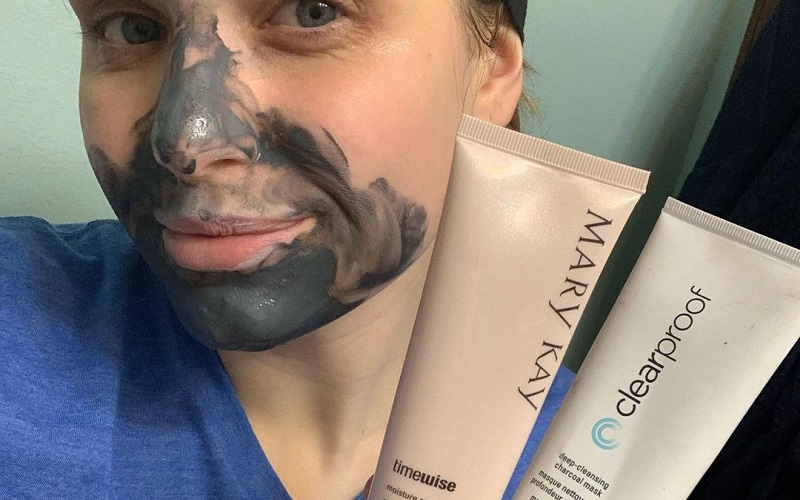
Once you are done cleansing and exfoliating your face, you can move on to your clay mask. The first clay mask to pick is a detoxifying face mask; apply it on all the oily areas of your face. Since excess sebum production is one of the biggest causes of worry for oily skin, you should start by taking care of this issue first. You can apply a detoxifying and oil-absorbing clay mask on oily areas of your face such as the T-zone. This clay mask will help draw out deep-set impurities from your skin, leaving it clean, and thereby keeping sebum production under control and preventing acne breakouts.
Step 4- Apply a brightening face mask on the remaining parts of your face
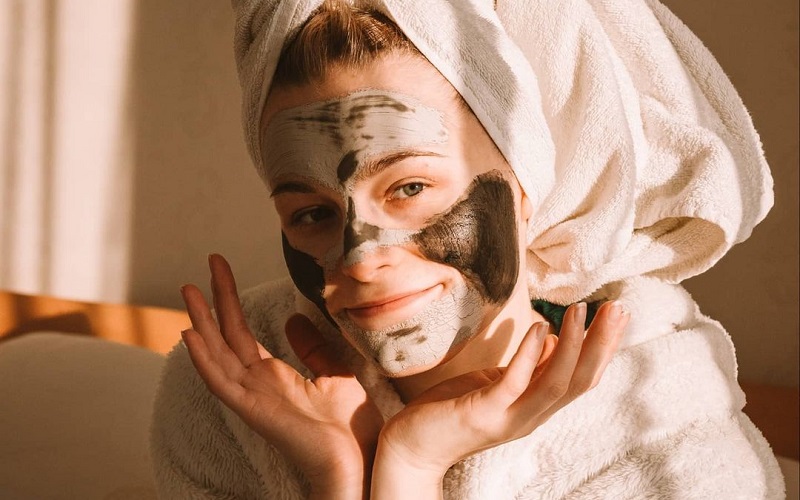
After applying a detoxifying clay mask on oily areas of your face, the next step is to apply a brightening clay mask on the remaining parts. The best way to deal with dull and lackluster areas of your face is by applying a brightening clay mask on those areas. A brightening clay mask won’t only help brighten your skin but will also cleanse it.




What do you think?